Hey girl, remember when we were kids making mud pies in the backyard? I’ve been obsessed lately with mud kitchen DIY on a budget because my niece is at that perfect messy age, and I wanted her to have her own outdoor play spot without breaking the bank. It’s the best way to get kids outside stirring up “recipes” with dirt and water – pure magic.
I put this roundup together after scavenging my garage and local free listings for supplies – pallets are everywhere if you know where to look! Last summer, I built a mini one for my toddler nephew using stuff we already had, and he spent hours “cooking” without a single screen in sight. It was a total win, even if it got a bit wobbly at first.
You’re about to see 12 cool mud kitchen DIY on a budget ideas that are super easy to copy. I’ll share what I love about each, plus tips so you can tweak them for your space. Get ready to spark some backyard adventures!
12 Cool Mud Kitchen DIYs on a Budget You’ll Want to Try
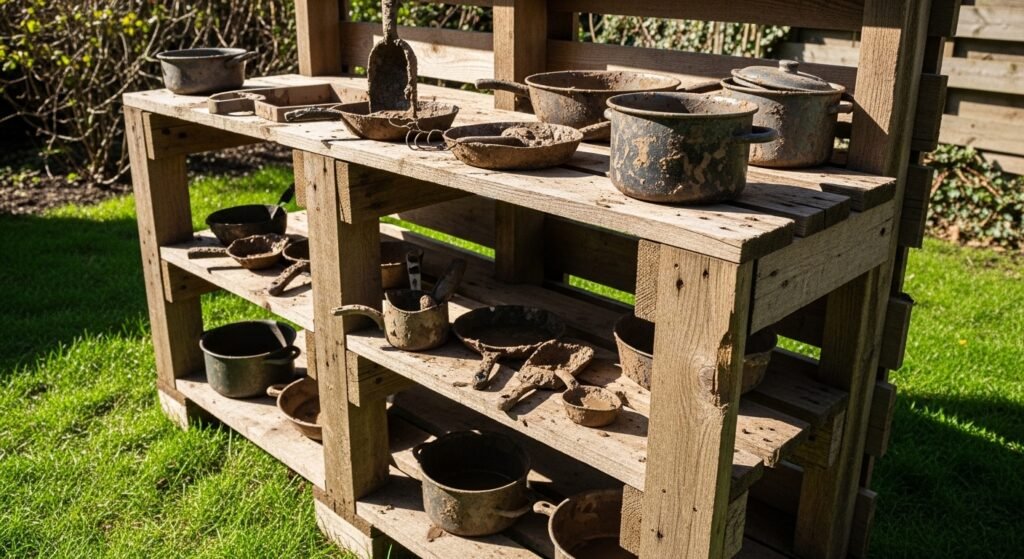
Pallet Shelf Kitchen
This pallet setup with pots and pans on shelves is genius – total thrift store vibe but free if you snag pallets from behind stores. I love how it stacks everything neatly for little chefs. Made one like this for my backyard; the kids loaded it up with old kitchenware, and it held up through rainy days.
Double Burner Pallet
Check out those two “burners” from pallet wood – fake it with painted circles or old lids! Pans hanging ready for mud soup. You could whip this up in an afternoon; I did a version and my niece pretended to fry pancakes all summer.
Simple Plank Bench
A sturdy bench from wooden planks on concrete – perfect base for any mud station. Add buckets on top for mixing. Super budget since planks are often free from construction scraps.
Crate Side-by-Side
Two wooden crates against a fence? Instant shelves for pots and dirt. I stacked mine with free Craigslist finds – held veggie “stews” like a champ. Kids love the height for easy reach.
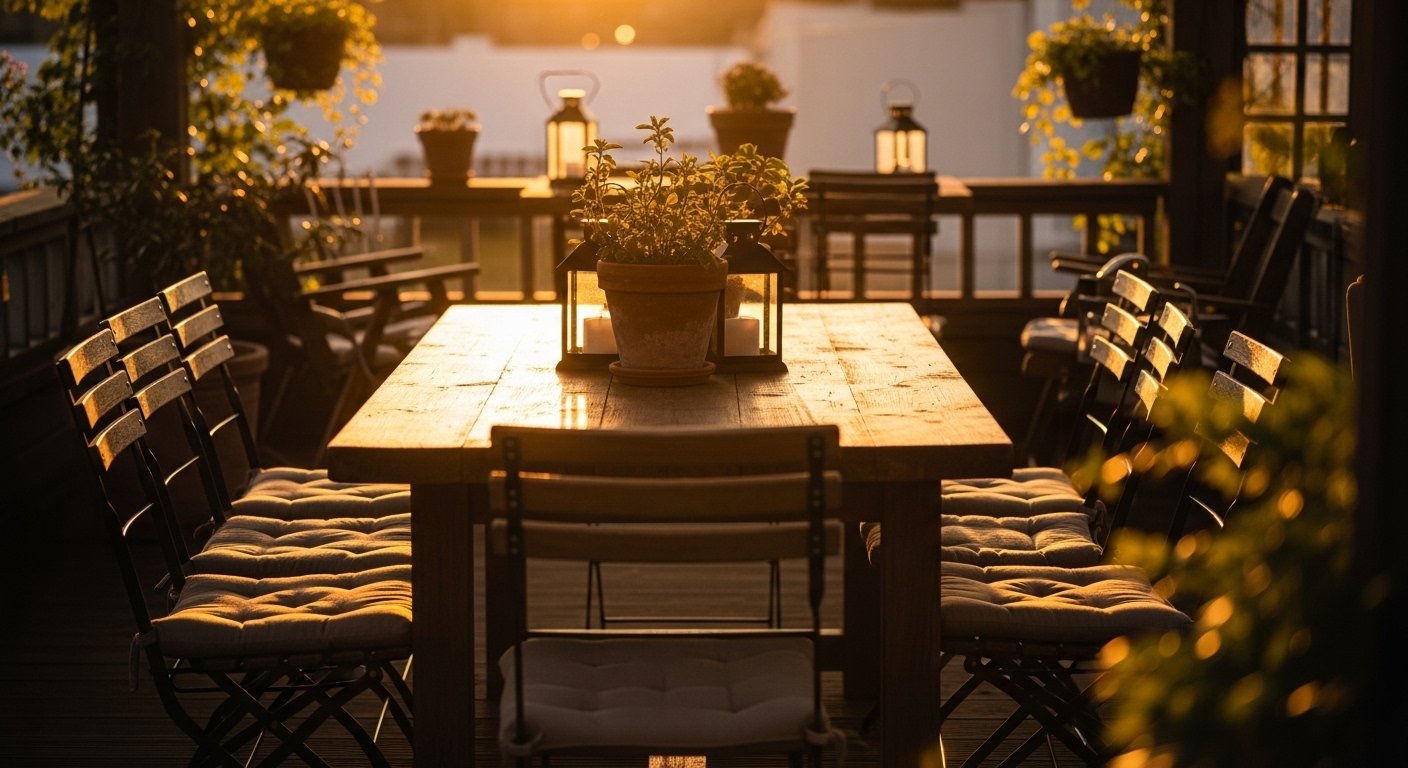
Kids’ Plant Pot Table
This table with potted plants and pots screams playtime – repurpose indoor stuff outside. Those happy kids in front make my heart melt. Set one up for a playdate; they mixed mud with leaves for hours, zero fuss cleanup.
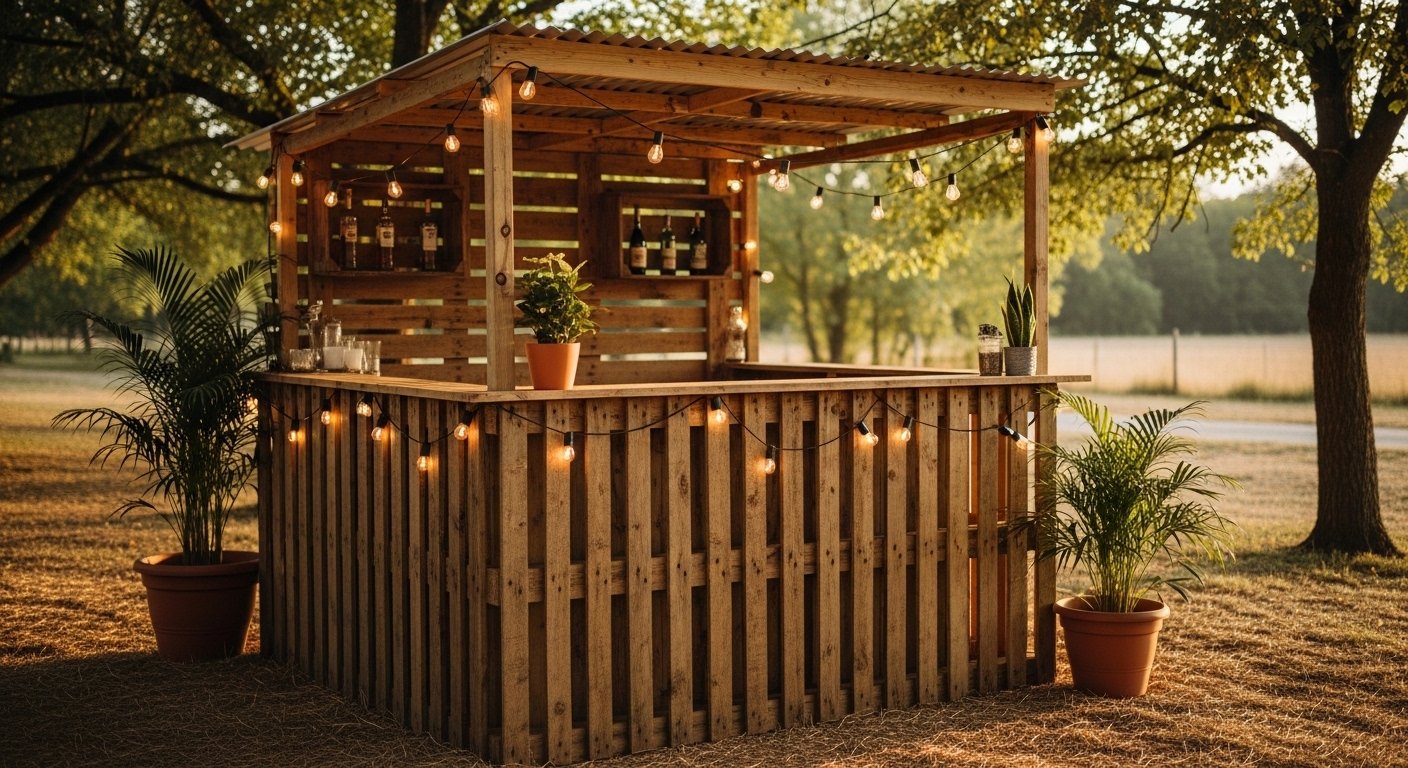
Flower Center Pallets
Pallet kitchen with flowers smack in the middle – adds a cute garden touch without extra cost. Wooden planks make it feel pro. I copied this exactly (minus flowers at first), and it became the neighborhood hangout spot.
Steel Pan Pallets
Wooden pallets topped with steel pans – rugged and ready for messy fun. Source pans from garage sales for pennies. This one’s my fave for durability; built it last weekend, already mud-tested.
Pallet Wood Bench
Just a wooden pallet bench – simple, cheap, and versatile for mud play. Lean it against a tree or wall. Perfect starter if you’re testing the waters.
Grassy Crate Kitchen
Pallet and crate combo on grass, trees in back – idyllic budget setup. Everything disassembles easy for storage. My sister made this for her yard; her boys “cooked” dinners every evening, total game-changer for outdoor time.
Play Jug Pallets
Child’s pallet kitchen with plastic jugs – recycle those milk jugs! Keeps it light and washable. I added jugs to mine; spill-proof heaven for water play mixed with mud.
Sand Water Play Bins
Outdoor set with sand, water bins, and toy boat – mud kitchen upgrade. Use old tubs or bins you have. This expanded my basic pallet one; kids went wild combining elements, best $0 addition ever.
Colorful Rock Basket
Basket of colorful rocks – ultimate mud kitchen accessory for texture in “recipes.” Collect on walks, free forever supply. Tossed some in my setup; suddenly every pie had “gems” – kid creativity exploded.
How to Actually Make This Work For You
Okay, real talk – start by hunting free pallets at warehouses or Craigslist; sand them quick to avoid splinters, then screw in scrap shelves for pots. Hit dollar stores for plastic bins and old utensils – under $20 total if you’re thrifty like me. Seal with outdoor varnish if it rains a lot, but honestly, mine survived uncovered and just got more character. Position near a hose for easy rinse-offs, and boom, endless play without fancy tools. I learned the hard way once when I skipped anchors – it tipped during a windstorm, ha! Add wheels from dollar bins if you want it movable. Tailor to your kid’s age too; lower shelves for toddlers. Oh, and involve them in building – my niece hammered nails (with help) and now it’s her pride and joy. Safety first: no small loose bits, and check for stability daily at first.
Where do I find free pallets?
Ask at local stores, warehouses, or check Facebook Marketplace – say it’s for a kid project, they often give ’em free. Avoid painted ones if possible; they’re treated chemicals. I scored 10 last month, no cost!
How much does this really cost?
Truly under $30 if you scavenge smart – pallets free, screws $5, paint $10, extras from recycling. My total was $12 including varnish. Way cheaper than buying one.
Is it safe for young kids?
Yep, sand edges smooth, use big-head screws, no sharp bits. Supervise first few plays. Mine’s toddler-proof now after tweaks.
Can I make it indoor too?
Absolutely, swap pallets for crates on a tarp. Less mess with contained mud. Did a mini version for rainy days – still fun!