Hey girl, remember when we were kids and turning the backyard into our personal restaurant with mud pies and leaf salads? I’ve been obsessed lately with mud kitchen DIY for beginners because my niece is at that perfect age where she wants to “cook” outside all day. It’s the best way to get her off screens and into some good, dirty fun.
I put this together because last summer I tried making one myself – total beginner fail at first with wobbly pallets, but now it’s her favorite spot. You don’t need fancy tools or a big budget; just some scraps and imagination. Trust me, it’s easier than it looks.
Stick with me through these 15 fun mud kitchen DIY for beginners ideas, and you’ll have a setup that’ll have the kids playing for hours. I’ll share what worked for me, plus easy tweaks for your yard.
15 Mud Kitchen DIYs for Beginners That’ll Spark Backyard Magic
Colorful Rock Collection
Start super simple with a basket of those pretty colored rocks – kids go wild mixing them into “potions.” I grabbed some from our local creek bed, rinsed ’em off, and boom, instant mud kitchen accessory. You’ll love how they add that natural pop without spending a dime.
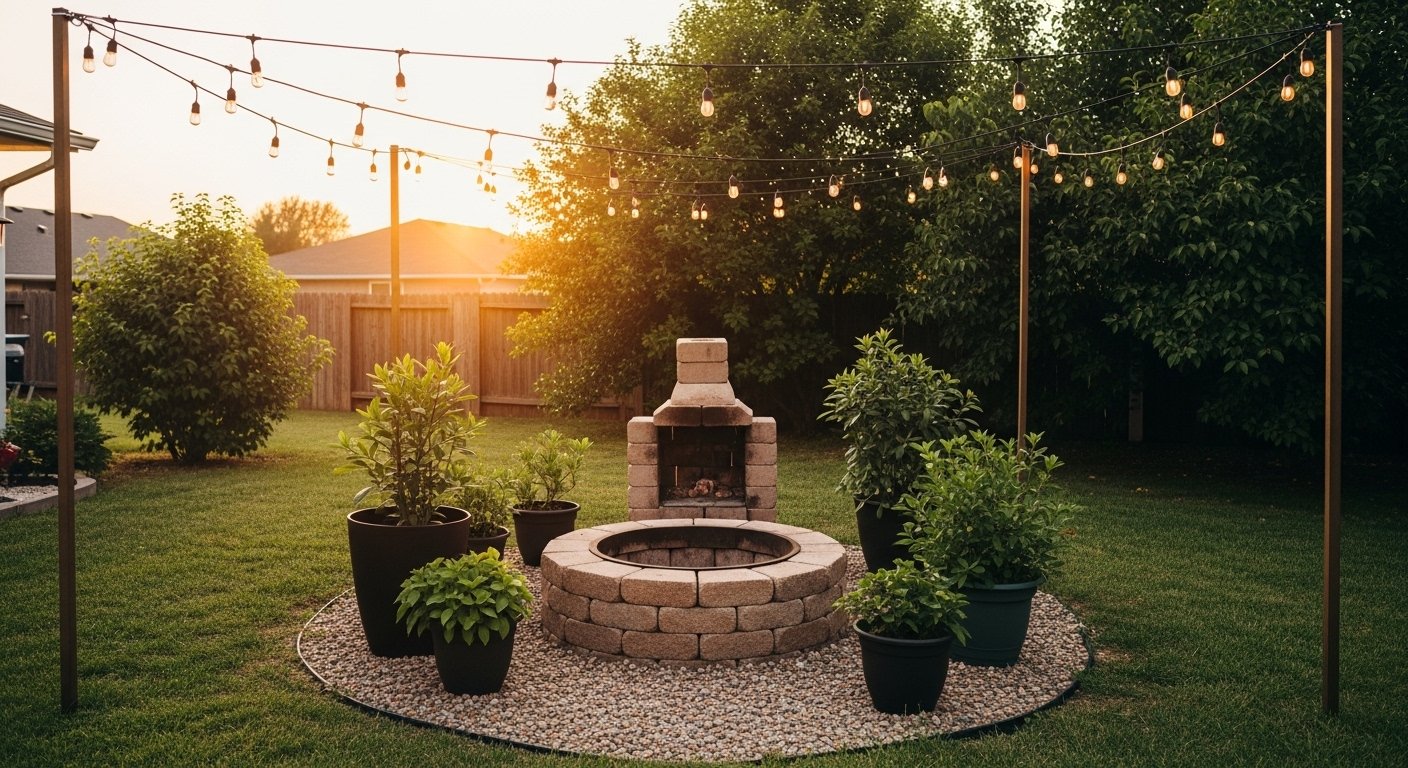
Brick and Plant Kitchen
This brick setup with plants feels so cozy and grown-up for little chefs. Stack bricks for shelves, tuck in some herbs – perfect for beginners. My first try leaned a bit, but a few rocks fixed it right up.
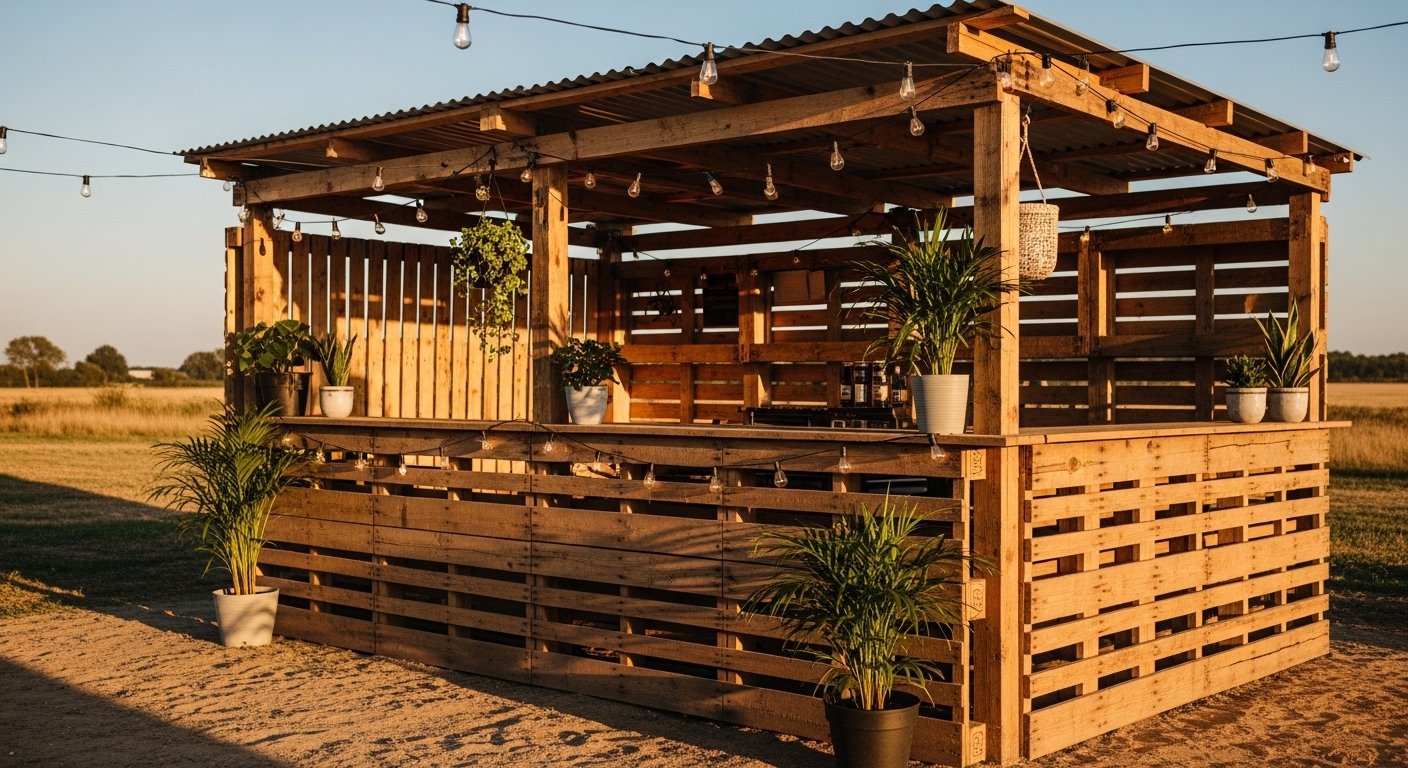
Pallet Cooking Station
Wooden pallets and crates make the ultimate kid-sized outdoor kitchen – see those happy faces? I built one like this for my niece; she “cooks” mud soup daily now. Grab free pallets from stores, sand lightly, and you’re set.
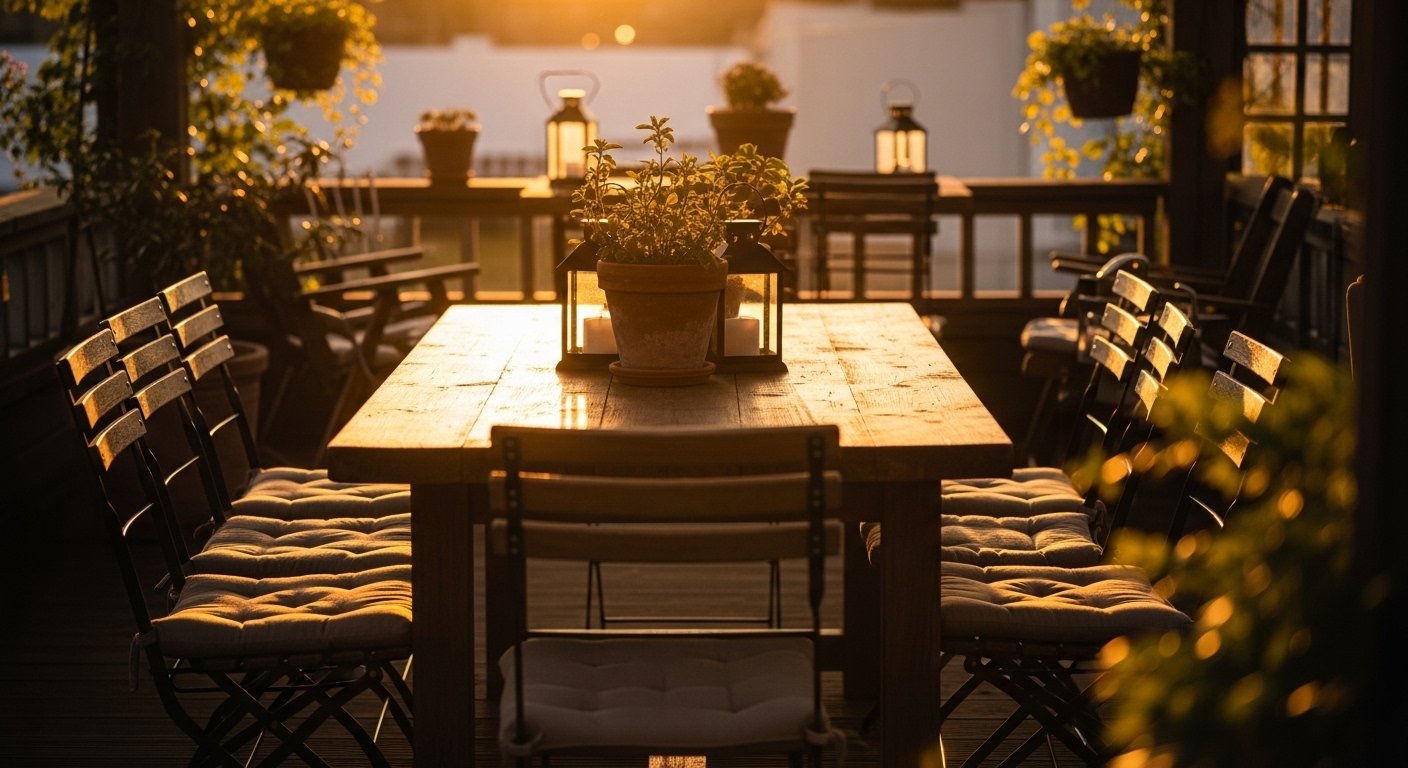
Rustic Table Setup
An old wooden table loaded with pots against the trees – pure backyard charm. I scored a thrift store table for $10 and just hosed it down. You can totally recreate this vibe anywhere shady.
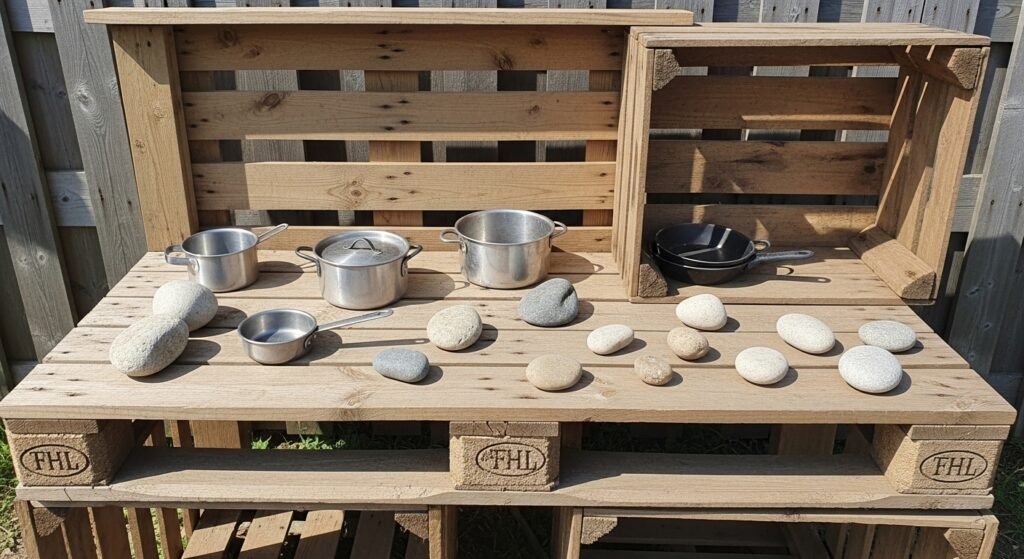
Crate Stove Vibes
Pallets turned into a full kitchen with hanging pans – so functional for play. Kids pretend-cook like pros here. Mine wobbled at first – tip: screw the crates together loosely.
Double Crate Base
Two crates side by side on the ground – dead simple for total beginners. Add bowls and you’re cooking (mud, obvs). I did this in an afternoon; niece hasn’t stopped “baking” since.
Grassy Table Play
Wood table in the grass with bowls everywhere – low-key and inviting. Perfect for picnics that turn into mud fests. We added wildflowers; felt like a fairy kitchen.
Potting Station Hack
Wood frame with plastic bins for sinks – genius for muddy water play. I used dollar store bins; held up great through rain. You’ll thank me when cleanup’s a breeze.
Outdoor Sink Build
A simple sink setup outside keeps the mess contained – beginner-friendly plumbing optional. We hooked a hose; kids wash “dishes” endlessly. Pro tip: elevate it for little arms.
Plank Bench Counter
Bench from planks on cement – sturdy and spacious for stirring pots. I built this last weekend; niece calls it her “chef station.” Easy screws, no fancy tools needed.
Pallet Grass Kitchen
Full pallet kitchen on grass with tree backdrop – dreamy play spot. Took me two hours; now it’s the backyard hero. Add crates for storage – you’ll see.
Bottle Storage Cart
Wooden cart overflowing with bottles for “ingredients” – endless pretend play. I filled ours with water bottles and jars; such a hit. Roll it anywhere in the yard.
Plant-Topped Pallet
Pallets with plants growing right on top – living kitchen magic. Herbs make it smell amazing too. My niece “harvests” leaves for recipes daily.
Metal Pot Pallets
Pallet base with shiny metal pots – looks pro without effort. Hung mine on hooks; super cute. Kids love the clanging sounds.
Wooden Stove Duo
Side-by-side wooden stoves with shelves – double the cooking fun. I added knobs from old drawers; niece flips ’em constantly. Simplest build yet.
How to Actually Make This Work For You
Okay, real talk – start by scavenging pallets and crates from behind stores or online free groups; they’re everywhere and free, which is perfect for us beginners. Sand any rough spots lightly with basic sandpaper, then screw pieces together loosely so you can tweak as you go – I learned that after my first one tipped over during a “mud storm.” Add pots from thrift shops or your garage, toss in rocks, sticks, and old bowls for that instant kitchen feel; hose it all down at day’s end and it’ll last seasons. Oh, and pick a shady spot to keep the mud from baking hard – trust me, my sunny one turned into a dust bowl quick. Scale it to your space; even a single crate works if you’re tight on yard.
What materials do I need for mud kitchen DIY for beginners?
Grab pallets, crates, old pots, rocks, and bowls – all cheap or free. No power tools required if you hand-screw. Start small and build up.
How long does a beginner mud kitchen take to build?
One to two hours tops for basics. I did mine while sipping coffee. Test it with kids right away.
Is it safe for young kids?
Yep, sand edges smooth and skip small parts they could swallow. Supervise water play. It’s all about that supervised mess.
Can I do this without a yard?
Absolutely – balcony or patio works with pots. Use a tarp for easy cleanup. Urban mud kitchens are a thing!
These mud kitchen DIY for beginners ideas have totally changed our backyard hangs – my niece’s imagination is on fire, and cleanup’s not even bad. Which one are you trying first? Drop a comment; I’d love to hear your tweaks. Happy muddy making, friends!