
Hey girl, remember when we were kids splashing around in the dirt pretending to cook up mud pies? I’ve been dreaming up a DIY mud kitchen for beginners for my niece’s backyard – it’s the perfect way to get her outside and creative without spending a ton. These simple setups are total magic for little ones who love that messy fun.
I put this together because last summer my backyard felt so boring – kids glued to screens, you know? I tried a super basic version with pallets I had lying around, and boom, hours of play. It was messy, yeah, but the giggles? Worth every speck of dirt.
Stick with me through these 12 fun ideas, and you’ll have easy inspo to build your own – no fancy tools needed. You’ll walk away ready to whip one up this weekend.
12 Fun DIY Mud Kitchens for Beginners That’ll Spark Backyard Joy
Stump Table Charm
This rustic stump table against a brick wall screams easy beginner win – just stack sturdy logs or stumps, toss on some thrift store pots and pans. I love how natural it feels, like it’s always been there. My first attempt used backyard branches, and the kids didn’t notice they weren’t perfect.
Pallet Kitchen Base
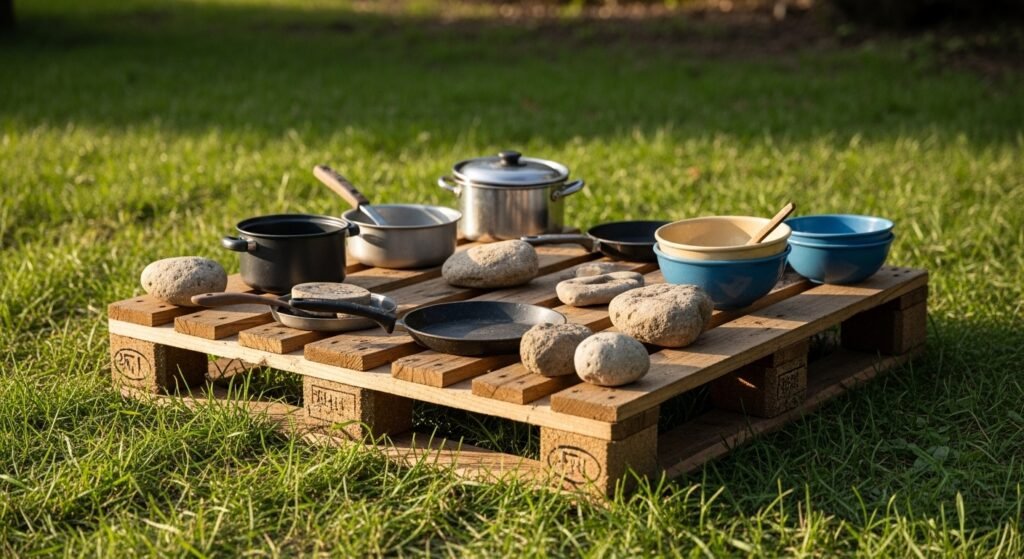
Wooden pallets turned outdoor kitchen? Genius for zero budget – grab free ones from stores, stack ’em up, add a plywood top if you want. You can paint or stain for pop, but raw wood works fine too. I built one last month; took 20 minutes, and now it’s the neighborhood hangout spot.
Colorful Rock Basket
Fill a cheap basket with vibrant rocks for instant mud kitchen “ingredients” – hunt them on walks or buy polished ones cheap. Perfect add-on that kids obsess over mixing colors into “potions.” We collected ours on a family hike; best free decor ever, though I admit, sorting the sizes was a mini adventure.
Container Sink Setup
Plastic bins on a wooden bench make the easiest “sink” station – fill with water for rinsing those muddy masterpieces. Pair with a nearby table for full play flow. I set this up for a playdate; the splash zone kept everyone busy for hours, towels at the ready of course.
Grassy Wood Table
A simple wooden table in the grass loaded with bowls and cups – no assembly required if you repurpose an old picnic table. Tuck it near trees for shade and whimsy. You could even add wildflowers in jars; mine turned into a fairy tea party zone unexpectedly fun.
Forest Bench Station
This lone wooden bench in a forest vibe is pure inspo for a natural mud spot – drag one outside, done. Kids love the wild feel. I plopped ours under our big oak; it’s weathered perfectly now from all the “cooking” sessions.
Bench Bowl Trio
Three bowls on a wooden bench – that’s your starter kit right there, thrift or dollar store finds. Stack for height variety. Quick story: my niece “baked” mud cookies here first time; proudest face ever, even if they crumbled haha.
Pallet Sink Bloom
Outdoor sink from pallets with a flower-filled potting shelf? Adorable upgrade – hose hookup optional for real water play. Keeps it functional yet pretty. I added herbs to mine; now it’s part garden, part kitchen – double duty win.
Hedge-Line Prep Table
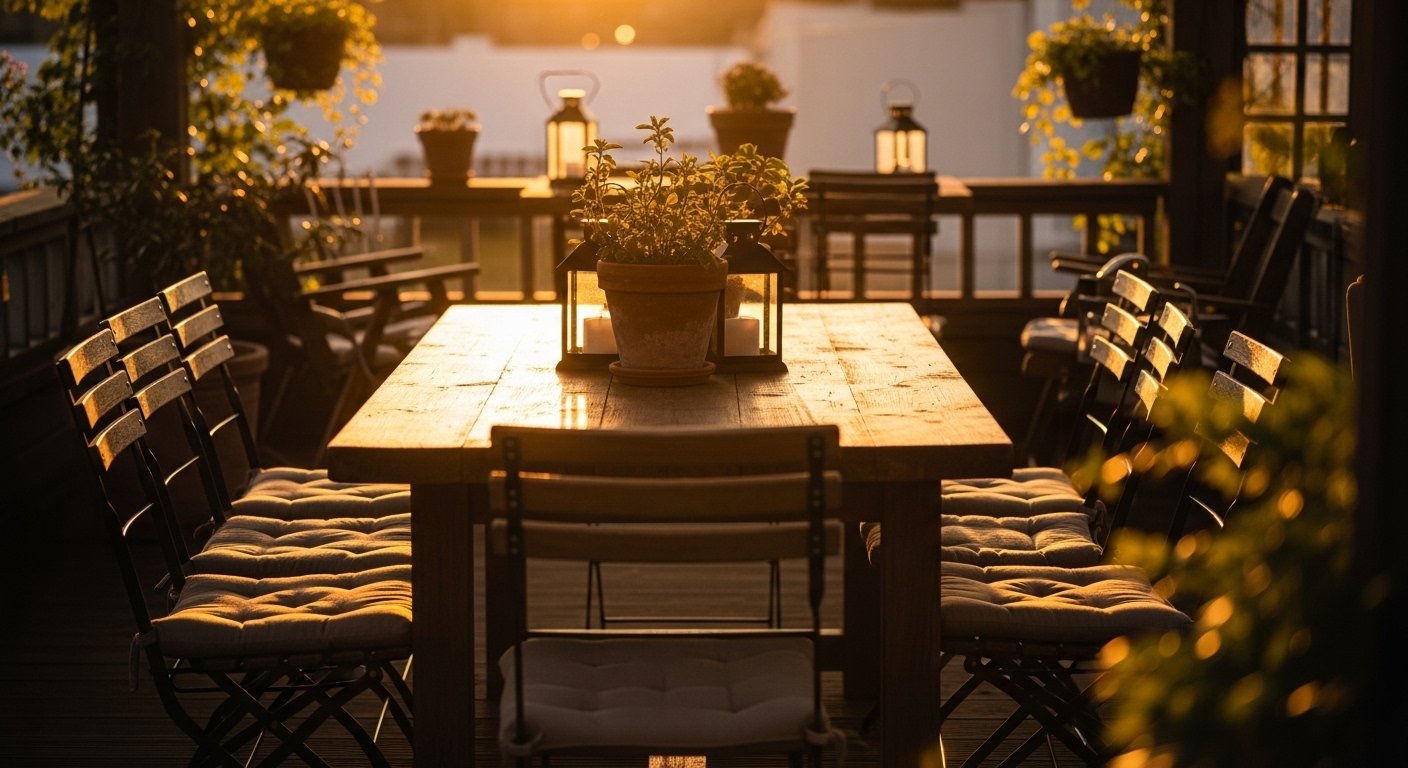
Wooden table with pots by a leafy hedge feels so tucked away and magical. Great privacy spot for focused play. You might wanna level the legs on uneven ground like I did – tiny tweak, big stability boost.
Deck Tool Spread
Lay out kid-safe tools on a deck for mud mixing station – spoons, shovels, funnels from the garage. No build needed. Ours got so used we had to rotate ’em; keeps the excitement fresh, trust me.
Brick Plant Kitchen
Bricks and plants forming an outdoor kitchen – stack bricks for counters, weave in greenery. Super sturdy for rough play. I tried a mini version on our patio; plants softened the look, and bugs stayed away somehow.
Snowy Pot Display
Pots on a snowy “stove” setup – year-round inspo, use in summer with dirt instead. Cozy even in winter vibes. Funny memory: we adapted for a snow day; mud swapped for snow “soup,” just as messy but colder!
How to Actually Make This Work For You
Okay, real talk – start with what you have, like pallets or stumps from the yard, and build low to the ground so tiny hands reach everything easily; I learned that after my first too-tall version tipped over once. Layer in accessories gradually – rocks and bowls first, then water if you’re brave – and seal wood with non-toxic stuff to fight weather, but honestly, natural patina looks cooler anyway. Pick a shady spot to avoid sunburnt playdates, and involve the kids in collecting “supplies” for that ownership magic; my niece still talks about our rock hunt like it was a treasure quest.
What materials do I need for a beginner DIY mud kitchen?
Grab pallets, crates, or stumps for the base, plus old pots, bowls, and spoons from thrift shops. Rocks and sticks are free from nature. Keep it under $50 total – that’s how I started mine.
Is it safe for toddlers?
Yep, if you skip real knives and use blunt tools, plus supervise water play. Low height prevents climbs and falls. I added soft grass underneath for extra cushion.
How do I clean it after muddy mayhem?
Hose it down or wipe with vinegar water – easy peasy. Let air dry in sun. We do a quick sweep daily; keeps it inviting without fuss.
Can I make it year-round?
Totally – cover for rain, swap mud for snow or sand seasonally. Store pots inside off-season. Ours survives everything; just refresh supplies come spring.