Hey girl, if your jewelry drawer is a total hot mess like mine used to be, these jewelry organization wall DIY ideas are about to change your life. I remember digging through tangled necklaces every morning – ugh, total time suck. I’ve been there, swearing at my earrings while late for coffee.
That’s why I rounded up 15 easy jewelry organization wall DIY ideas that anyone can pull off, no fancy tools needed. Last summer, I turned my boring bedroom wall into a sparkle station using stuff from the dollar store – it felt like magic. You don’t need to be a DIY pro to make your bling look Insta-worthy.
Stick with me, and you’ll get simple inspo plus real-talk tips to pick what fits your vibe. You’ll walk away ready to declutter and glow up your space. Promise it’s all beginner-friendly!
15 Jewelry Organization Wall DIY Ideas You’ll Wish You Tried Sooner
Chessboard Necklace Holder
Who knew a chessboard could double as genius jewelry storage? Hook your chains on the edges and let pieces dangle like art – so clever for small spaces. I tried this in my entryway last month; now my daily necklaces are grab-and-go. Total game-changer, and it cost me like five bucks.
Bedroom Wall Rack
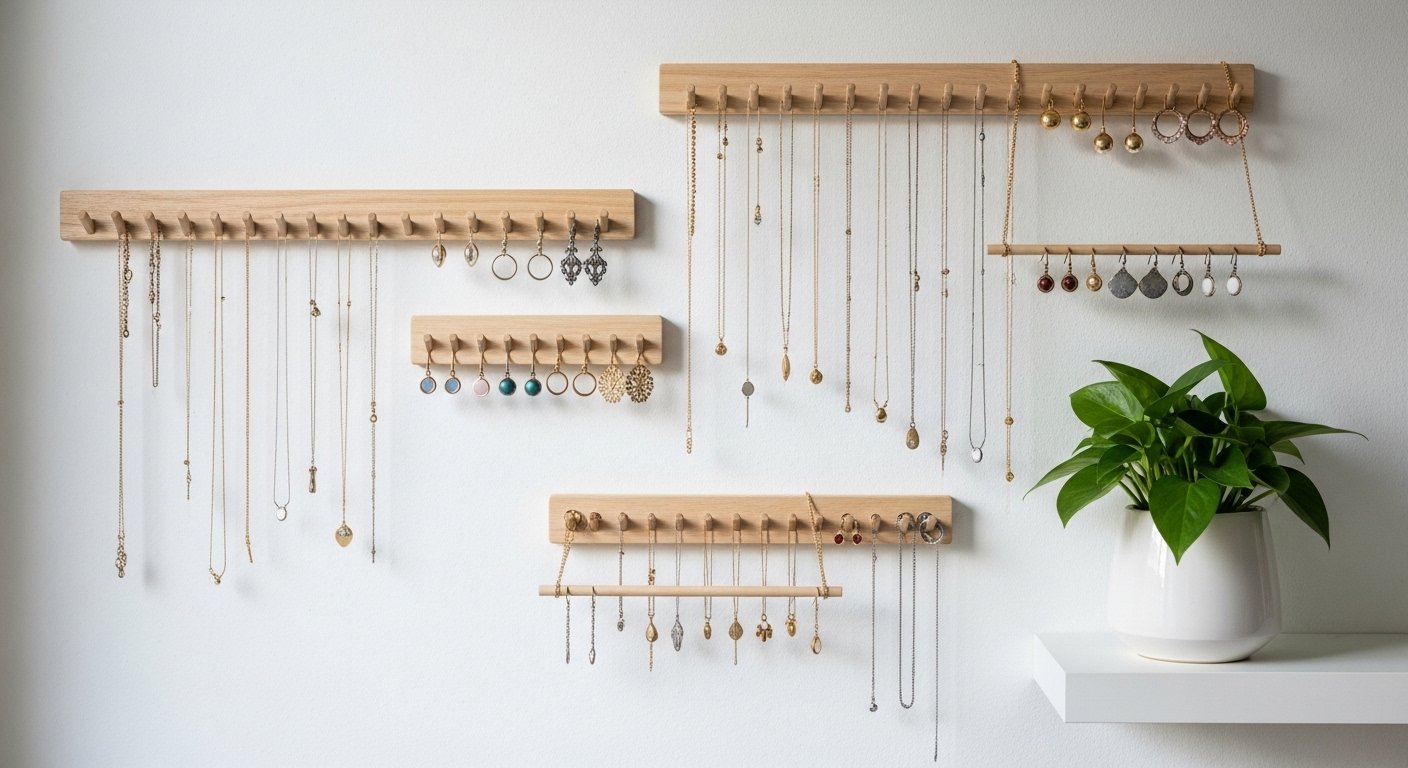
This sleek wall rack screams cozy bedroom vibes. Necklaces cascade perfectly without tangling – imagine no more knot drama. You could DIY it with a wooden plank and hooks from Home Depot.
Compartment Jewelry Organizer
Multiple compartments mean rings, studs, and chains all have their spot. Mount it anywhere – vanity, closet door, you name it. I love how it keeps everything visible yet tidy; my gold hoops haven’t gone missing since.
Hidden Mirror Closet
A full-length mirror hiding a jewelry paradise? Obsessed. Flip it open for secret storage – perfect if you hate clutter on display. My roommate did this, and it’s like having a boutique in her room. Side note: thrift a mirror and add hooks inside for under 20 bucks.
Multi-Necklace Rack
Hang necklaces and rings from this simple rack – effortless glam. It’s wall-mounted, so it saves drawer space big time. You can customize lengths for different chain styles. I made one for my bracelets; they’re finally untangled!
Shadow Box Display
Black-framed shadow box turns jewelry into wall art. Necklaces and rings pop against the depth – gallery wall goals. Grab one from the craft store and pin your faves inside. Feels fancy without trying too hard.
Door Hook Hanger
Simple black hanger on a white door for necklace overload. Hooks keep chains separated – no more morning fights. I stuck this on my bathroom door; now travel prep is a breeze. Super renter-friendly too.
Closet Transformation Base
Empty closet ready for jewelry magic – think shelves galore. Start bare and build out with hooks and racks. It’s the blank canvas your bling deserves. My first attempt was messy, but wow, the before-and-after glow-up.
Shelf Jewelry Vignette
Wooden shelf with jewelry and candles next to a mirror – cozy setup. Mix storage with decor for that lived-in feel. You could add small hooks under the shelf for earrings.
Hand-Painted Wall Accent
Paint a wall mural then mount jewelry – artistic twist. Hands-on fun that personalizes your space. I got paint everywhere once, but it was worth the creative mess. Pair with hooks for sparkle.
Sleek Wall Rack
Clean lines on this wall rack hold everything neatly. Perfect for minimalist vibes without sacrificing function. Hang it eye-level for easy access – you’ll thank me later.
Chessboard Jewelry Mix
Chessboard loaded with necklaces and extras – eclectic charm. It’s quirky but holds tons. I rotated my seasonal pieces here; keeps things fresh. Love the unexpected vibe.
Earring Hook Panel
Wall panel just for earrings with perfect hooks. No more lost backs or mates. This saved my stud collection – seriously, try it if you’re an earring hoarder like me.
Bracelet Necklace Holder
Tons of necklaces draped on this holder – capacity queen. Wall-mounted for max space. You can add pegs for bracelets too. My chains haven’t tangled in weeks!
Shelved Bracelet Display
Closet shelves stacked with bracelets and rings – organized heaven. Next to the door for quick grabs. I DIYed pull-out bins here; now it’s my favorite closet corner. Tiny tweak, huge win.
How to Actually Make This Work For You
Okay, real talk – start by measuring your wall space and sorting your jewelry into must-haves versus “maybe laters” so you don’t overwhelm the setup. Grab basic supplies like Command hooks, a stud finder app on your phone, and maybe some spray paint for that custom touch – I swear by the removable ones if you’re renting. Layer your pieces from longest necklaces at the top to tiny rings below, and test it out for a week to tweak what works; mine shifted twice before perfection. Oh, and light it up with cheap LED strips behind for that jewelry-box glow – game-changer at night.
What materials do I need for basic wall jewelry DIY?
Super simple: wooden boards or frames from the dollar spot, hooks or nails, and maybe wire for hanging. Hot glue gun speeds things up too. I’ve used cereal boxes in a pinch – works!
Can I do this in a small apartment?
Totally, girl – opt for over-door hangers or slim racks that stick with adhesive. No drilling needed. My studio thrived on this setup.
How do I prevent tangling?
Space hooks at least two inches apart and use straws on chains for separation. Rotate pieces weekly. Keeps it fresh and knot-free.
Best room for these organizers?
Bedroom wall or closet door for daily ease, but entryway rocks for quick outfits. Match to your routine. I put mine vanity-side – love it.
Leave a Reply